Whether you've got stories to tell or art to create, there's a place for you here.

UX Designers
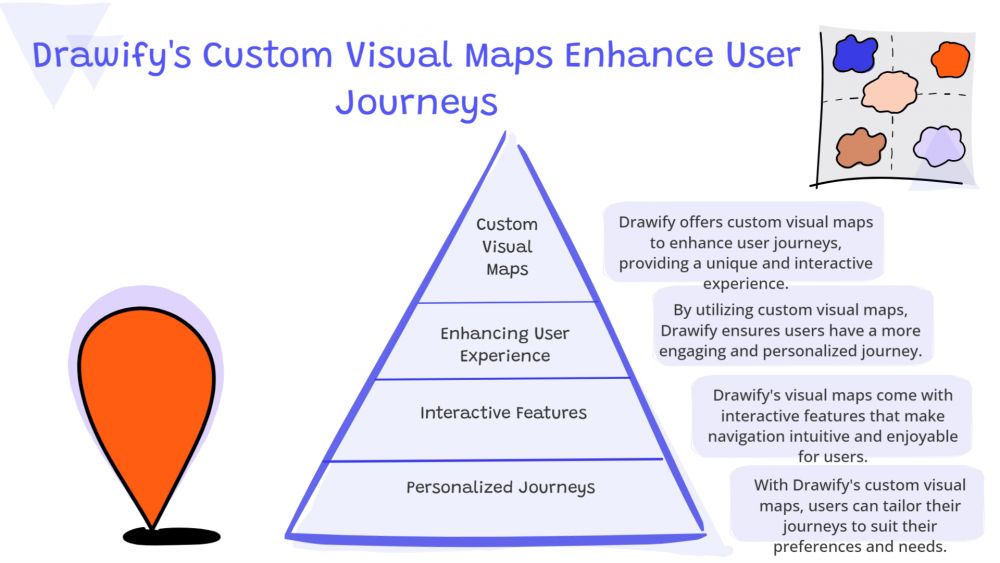
Enhancing User Journeys with Custom Visual Maps in Drawify
-
SDSwarnali Das- Co-founder, Chief Product Officer, Drawify
-
Sep 05, 2025 5 min read
In today’s tech-driven world, drop-shipping a logical, smooth and emotionally profound user experience is highly critical for the success of a business. According to Warren Buffett, Investor & Business Magnate;
“Digital transformation is a fundamental reality for businesses today.”
Visual Storytelling has emerged as one of the most important aspects for UX Designers. Visual Storytelling is all set to emerge as one of the most effective and impactful assets for designers. With the help of the Visual Storytelling technique, the designers tend to cater to the needs of the users by understanding and communicating in an effective and better manner. One of the most constructive methods for imparting the aforementioned aspect of the users is User Journey Mapping, and the approach by which these experiences are visualised is being revolutionised by technologies like Drawify.
Drawify is a tool for communicating visually that makes it easy for teams, strategists, and designers to make unique visual maps. Drawify's hand-drawn graphics, drag-and-drop features, and customised templates enhance the impact, empathetic thinking and interaction of journey mapping.
The article that follows explores how UX experts may use Drawify to improve user journeys, including useful suggestions, examples from real life, and SEO-rich insights for improved stakeholder alignment and design.
What is a User Journey Map?:
The steps a person takes when interacting with a brand, product, or service are shown graphically in a user journey map. It captures:
- Important points of contact.
- Motivations and objectives of users.
- Feelings and Emotions.
- Moments of friction and pain spots.
- Ideas for enhancement.
The Importance of Custom Visual Maps in UX Design:
The traditional concept of user journey map used to rely basically on the conventional and generic methods, such as Spreadsheets or some other generic technologies. The conventional techniques are utilitarian, though they lack emotional connection and users’ authentic experiences. While, on the other hand, the Custom Visual Maps in the UX Design tend to fulfil the following aspects that prove to be genuine and impactful:
- Encourage compassion and understanding.
- Increase the effectiveness of highlighting pain points.
- Promote cooperation across functional boundaries.
- Make it easier for people to comprehend data and insights.
Drawify empowers UX designers to establish visually stunning journey maps that bring user experiences into reality without the need for a professional designer.
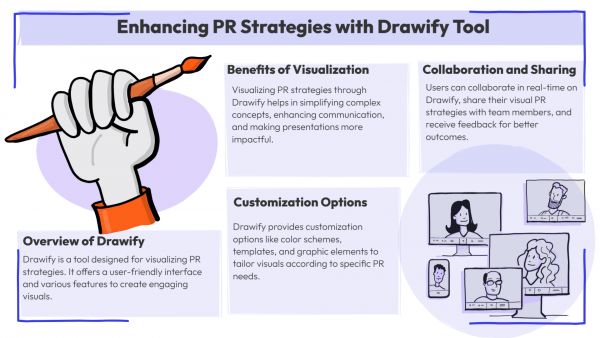
Drawify, a Secret Weapon for the UX Designers:
Drawify is often regarded as the ‘skeleton in the closet’ as it is one of the most powerful tools to be used by users to impart their authentic emotions and feelings naturally. Drawify is an illustration design software or technology that is developed for storytelling, the visual one. It includes the following:
- Thousands of hand-drawn images.
- Templates that can be customised for journey mapping, mind maps, empathy maps, and more.
- A user-friendly drag-and-drop interface.
- Collaboration features for team input.
Exportable Visuals for Presentations and Documentation:
- The tool, Drawify, enables UX designers to create empathy-based images that appeal to both users and stakeholders.
How Drawify Improves User Journey?
Certain aspects can be used to improve the user journey by using Drawify. They are mentioned below:
1. Define the Journey Scope:
It is important to have clarity of the following things before heading on to the images, using Drawify. Let’s have a quick look at it:
Persona: Who is the user? What are their goals?
Scenario: What experience are you mapping?
Stages: What are the key phases (e.g., discovery, consideration, purchase, retention)?
Touchpoints: Where and how does the user interact with the product?
Keeping in mind the above-mentioned well-defined outline will help in transforming the content of the journey into a visual flow.
2. Start a New Drawify Project:
A user can follow the following steps to start a new project using Drawify (cited from Drawify):
Step 1: Log in and choose the Hero or Pro plan depending on how many illustrations or team members you need.
Step 2: Open a new Project—after Drawify 3.0, you can create multiple pages (e.g., one page per phase) and reorder easily.
Step 3: Rename your project for clarity.
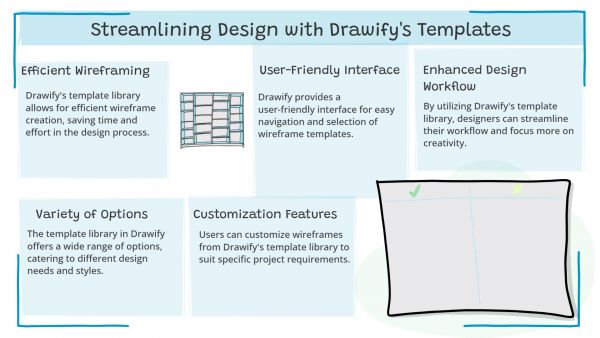
3. Use an Appropriate Template or Start from Scratch:
- For organising high-level stages and challenges across segments such as Personas, Skills, Marketing, etc., use the Customer Experience Strategy Map template. (as mentioned in the tool, Drawify)
- If you want an itinerary or flow chart that is free-form, you can also take advantage of a blank canvas.
4. Identify the Phases and Touchpoints:
- Include the phase (such as "Onboarding") at the top of each page (or scene).
- Add swimlanes or containers that are horizontally lined to symbolise:
- User behaviour (choices, clicks, and movements)
- Feelings (e.g., bewildered, joyous)
- Devices or channels
- Opportunities and problems
According to Drawify,
Use simple shapes and headings; set up your text hierarchy for clarity using Drawify’s ability to assign header/subheader/paragraph styles.
5. Incorporate Images, Iconography, and Emotional Context:
- Search into the illustrations on Drawify for:
- Icons for devices (browser, email, mobile).
- Emoticons (happy and sad faces).
- Generic dollar signs, clicks, pinches, etc.
- Drag them into position, then change the colours to fit the persona's colour-coded themes or branding.
- To annotate or highlight certain portions of a flow, use the Draw feature. For example, you can add arrows connecting phases, underline terms, or circle a symbol to indicate friction.
6. Plan the Journey Using Several Pages or Situations:
Plan the journey using several pages or situations (Drawify):
- Page 1: Breakdown of each step.
- Page 2 - 4: An in-depth look at each step (Activation, Sign-Up, Discovery, etc.)
- To copy templates as you loop through different sessions of Drawify, use the duplicate page feature.
- During workshops, use presentation mode to go full-screen, which helps stakeholders stay focused and facilitates in-context discussion without downloading initially.
7. Brainstorm Collaboratively and Modify:
- Include the project link with co-workers or stakeholders for feedback.
- Whilst implementing the Miro Integration, incorporate the Visual Map into a larger collaborative board so that it can be edited or linked to other Drawify Journey assets.
8. Export and Distribute:
- For printing or creating slide decks, export your content as a high-resolution PDF.
- Furthermore, download it as a PNG or JPEG to add to your UX repository, Google Docs, or Confluence.
- To provide remote readers more context, include notes or insightful remarks attached to each graphic.
To conclude, visual user journey maps are not only a tool that generates diagrams or an end product, but they act as one of the most powerful techniques that deal with the empathy, alignment and improvement of the users. Drawify, in this context, works amazingly for the designers who are willing to mirror their emotions through diagrams and pictures. Drawify is a strong tool that helps many users achieve their desired dreams.
Post This Article to Your Socials
Popular Topics
- Events
- Workshops
- Visual Storytelling
- How to video
- Communities
- Sketchnoting
- Templates
- UX Designers
- Agile Professionals
- Product Managers
- Freelance Graphic Designers
- Creative Tech Enthusiasts
- Online Course Creators
- Social Media Content Creator
- Creative Agency Owners
- Marketing Professionals
- EdTech Professionals
- Scrum Masters
Similar Articles

UX Designers
SD
Swarnali Das
5 min read
UX Designers
SD
Swarnali Das
5 min read

Come, Be Part of Something Special
-
Got ideas that need visual superpowers?
Jump in and start creating presentations and communications that people actually remember.
Sign In -
Are you an artist ready to grow?
Join our Drawifier family and focus on what you love most - creating art that matters.
Become a Drawifier
Get visualisation tips every week
Subscribe to the Drawify Newsletter, and feed your creativity with visualisation tips and techniques, as well as the latest Drawify workshops, news and resources.
